The Cuisinart Ice Cream Maker is a popular kitchen appliance designed to craft delicious homemade ice cream with ease. It allows users to customize ingredients for unique flavors. Available at an affordable price range of $70-100‚ it’s a great choice for ice cream enthusiasts. Sold by Amazon‚ it’s widely accessible for those looking to create personalized frozen treats at home.
Why Use an Ice Cream Maker?
An ice cream maker offers numerous benefits for creating homemade ice cream. It allows for customization of ingredients‚ ensuring healthier options without preservatives. Users can craft unique flavors and mix-ins‚ catering to dietary preferences like vegan or gluten-free. The maker simplifies the churning process‚ saving time and effort. It’s cost-effective in the long run‚ especially for bulk ingredients or seasonal fruits. Plus‚ it’s a fun and creative activity for the whole family‚ providing fresh‚ personalized treats without the need for store-bought options.
Overview of Cuisinart Ice Cream Maker Models
Cuisinart offers a variety of ice cream maker models to suit different needs and preferences. These include automatic and soft-serve options‚ each designed for convenience and customization. Models vary in features like capacity‚ design‚ and additional functions‚ ensuring there’s an option for every user. Whether you prefer traditional ice cream or soft-serve‚ Cuisinart provides reliable and user-friendly appliances to help you create delicious homemade treats effortlessly. The range caters to both casual users and enthusiasts looking for advanced capabilities.
Key Features of the Cuisinart Ice Cream Maker
The Cuisinart Ice Cream Maker offers ease of use with preset timers‚ compact designs‚ and durable construction. It’s affordable‚ priced between $70-100‚ making it a great investment for homemade treats.
Design and Build Quality
The Cuisinart Ice Cream Maker boasts a sleek‚ compact design that fits seamlessly into any kitchen. Built with durable‚ BPA-free materials‚ it ensures long-lasting performance and safety. The sturdy construction includes a heavy-duty motor and a double-insulated freezer bowl‚ designed to churn ice cream efficiently. Its ergonomic controls and easy-to-clean parts make it user-friendly. The modern aesthetic and robust build quality make it a reliable addition to your kitchen‚ perfect for crafting homemade ice cream with consistent results every time.
Capacity and Size Options
Cuisinart Ice Cream Makers come in various sizes to suit different needs. Most models offer a 1.5 to 2-quart capacity‚ perfect for small to medium batches. Compact designs make them ideal for kitchens of all sizes. Some models feature transparent lids for easy monitoring. Larger capacities are available for bigger families or gatherings. Always consider freezer space for pre-freezing the bowl‚ a common requirement for many models. Choose the size that fits your lifestyle and ice cream preferences.
Controls and Settings
The Cuisinart Ice Cream Maker features intuitive controls that make it easy to operate. Most models include a simple on/off switch‚ a digital display‚ and a timer to monitor churning time. Some advanced models offer multiple speed settings and preset buttons for different desserts like gelato or sorbet. The LCD screen displays the remaining churning time‚ ensuring precise control. The machine also includes a start/stop button for easy operation. These settings allow users to customize the churning process for desired texture and consistency. Follow instructions closely for optimal results.

Choosing the Right Ingredients
Selecting high-quality ingredients is crucial for perfect ice cream. Use fresh cream‚ whole milk‚ and natural sweeteners like sugar or honey. Add flavorings like vanilla or cocoa for unique twists.
Base Ingredients for Ice Cream
The base ingredients for ice cream typically include heavy cream‚ whole milk‚ granulated sugar‚ and vanilla extract. Heavy cream provides richness and a creamy texture‚ while milk adds moisture. Sugar balances the flavor and prevents ice crystals from forming. Vanilla enhances the taste‚ but you can substitute it with other flavorings. For a custard-style ice cream‚ egg yolks are added for a smoother texture. Using high-quality ingredients ensures the best results. Experiment with alternative milks for dairy-free options. Always follow the recipe proportions for optimal consistency.
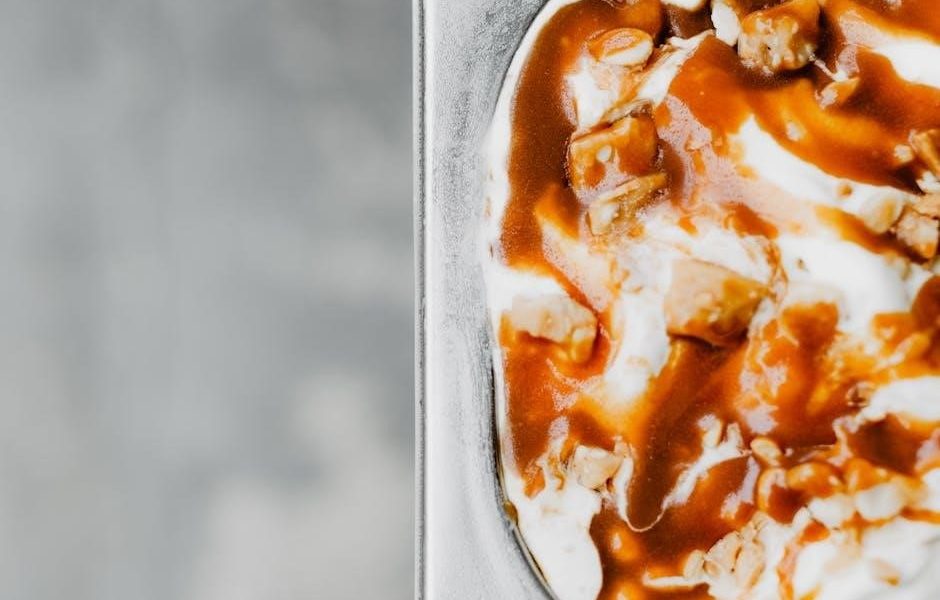
Optional Mix-Ins and Toppings
Enhance your homemade ice cream with mix-ins like nuts‚ chocolate chips‚ or fruit for added texture and flavor. Toppings such as sprinkles‚ caramel‚ or whipped cream can elevate your creations. Consider folding in fresh berries or cookie pieces during the churning process for a personalized touch. For the best results‚ add mix-ins toward the end of churning to ensure even distribution. Experiment with various combinations to create unique and delicious flavors tailored to your taste preferences.

Preparation Steps
Preparation is key to making perfect ice cream. Begin by pre-freezing the mixing bowl and preparing your base ingredients according to the recipe. Assemble the maker carefully.
Pre-Freezing the Bowl
Pre-freezing the bowl is a crucial step for optimal ice cream making. The bowl must be placed in the freezer for 6-24 hours before use to ensure it reaches the necessary temperature. This step ensures the mixture chills evenly and prevents ice crystals from forming too quickly. Always confirm the bowl is fully frozen before adding ingredients. Proper pre-freezing guarantees a smooth‚ creamy texture and efficient churning performance. Neglecting this step can result in soft or icy ice cream.
Preparing the Ice Cream Base
Preparing the ice cream base is the first step in creating your frozen treat. Combine fresh cream‚ milk‚ sugar‚ and flavorings like vanilla or cocoa in a bowl. For custard-based ice creams‚ cook the mixture to dissolve sugar and infuse flavors. Ensure all ingredients are well-mixed and chilled before pouring into the maker. This step ensures a smooth and even churning process‚ resulting in a creamy texture. Always use high-quality ingredients for the best taste and consistency.
Assembling the Maker
Assembling the Cuisinart Ice Cream Maker involves attaching the mixing bowl to the base and ensuring the lid is securely locked. Place the bowl on the base‚ aligning it with the pins for proper fit. Insert the mixing paddle into the bowl‚ making sure it clicks into place. Attach the lid tightly to prevent leaks during churning. Double-check all components are properly aligned and secured before use. Always refer to the manual for specific assembly instructions to ensure safety and optimal performance.
Churning the Ice Cream
Churning involves pouring the prepared base into the pre-frozen bowl and letting the machine mix until the desired consistency is achieved‚ typically within 20-30 minutes.
Starting the Machine
To start the Cuisinart Ice Cream Maker‚ ensure the bowl is pre-frozen and the machine is fully assembled. Pour the prepared ice cream base into the bowl‚ then securely attach the lid and mixing paddle. Plug in the machine and select the desired setting. The motor will begin churning the mixture‚ incorporating air and breaking down ice crystals for a smooth texture. Allow the machine to run for about 20-30 minutes‚ depending on the model‚ until the ice cream reaches the desired consistency. Always follow the manufacturer’s instructions for optimal results.
Monitoring the Churning Process
During churning‚ it’s essential to monitor the process to ensure perfect texture. The mixture will thicken gradually‚ and you’ll notice a change in sound as the motor works harder. Avoid overfilling the bowl‚ as this can cause spillage. Check the consistency periodically through the lid‚ but avoid frequent interruptions. The churning time typically ranges from 15-30 minutes‚ depending on the model. Keep an eye on the timer and the mixture’s thickness to achieve the desired result. Your patience will be rewarded with creamy‚ homemade ice cream!
Knowing When It’s Done
The Cuisinart Ice Cream Maker typically takes 20-30 minutes to churn ice cream to the perfect consistency. You’ll know it’s done when the machine stops moving‚ and the mixture has doubled in volume. The ice cream should be thick and creamy but still soft-serve consistency. Avoid over-churning‚ as it can lead to ice crystals forming. Once complete‚ transfer the ice cream to an airtight container and freeze for at least 2 hours to harden before serving. This ensures a smooth‚ professional-quality finish.

Post-Churning Tips
After churning‚ transfer the ice cream to an airtight container and freeze for 2-4 hours to harden. Add mix-ins like nuts or chocolate chips before freezing for the best results.
Transferring and Freezing
After churning‚ transfer the soft-serve ice cream to an airtight container with a tight-fitting lid to prevent air exposure. Use a sturdy‚ freezer-safe container like stainless steel or plastic. Place it in the coldest part of your freezer to harden for about 2 hours. Avoid stirring during freezing‚ as it can introduce air bubbles. Once hardened‚ the ice cream will have a smoother texture. For best results‚ ensure the container is airtight to prevent freezer burn and maintain freshness. This step ensures your homemade creation stays creamy and delicious.
Adding Mix-Ins After Churning
After churning‚ you can add mix-ins like nuts‚ chocolate chips‚ or fruit to create unique flavors. Gently fold them into the ice cream using a spatula to ensure even distribution. Avoid overmixing‚ as it can deflate the mixture. For chunkier ingredients‚ let the ice cream harden slightly before adding them. This step allows you to customize your dessert with your favorite toppings‚ making each batch truly personalized. Transfer the mixture to an airtight container and freeze for a few hours to set fully.
Storage and Serving
Freezing and Hardening
Transfer churned ice cream to an airtight container and freeze for 2-3 hours to harden. This ensures a scoopable texture and prevents melting.
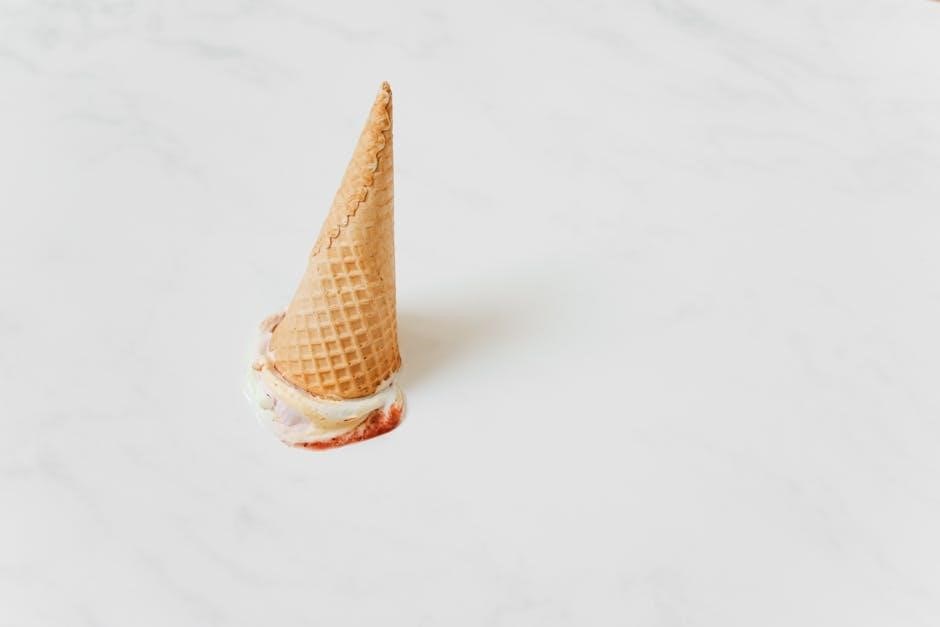
Serving Suggestions
Enjoy your homemade ice cream in cones‚ bowls‚ or sundaes with toppings like sprinkles‚ whipped cream‚ or fresh fruit for a personalized treat.
Storing Leftovers
Store leftovers in a sealed container in the freezer to maintain freshness. Avoid refreezing melted ice cream for the best taste and texture.
After churning‚ transfer the ice cream to an airtight container and place it in the freezer to harden for 2-4 hours. This step ensures a firmer texture and better scoopability. Avoid over-freezing‚ as it can lead to ice crystals forming. For optimal results‚ store the container in the coldest part of the freezer‚ away from direct light. This process allows the flavors to mature and the texture to stabilize‚ ensuring a professional-quality finish to your homemade ice cream.
Once your homemade ice cream is ready‚ consider creative ways to enjoy it. Serve it in cones‚ sundaes‚ or milkshakes for a classic treat. Add toppings like sprinkles‚ whipped cream‚ or caramel sauce for extra flavor. Pair it with baked goods‚ such as brownies or cookies‚ for a decadent dessert. For a fun twist‚ create banana splits or layer it with fresh fruit. Homemade ice cream also pairs well with warm pastries or as a base for ice cream sandwiches. Get creative and savor the fruits of your labor!
After churning‚ leftovers should be stored in an airtight container to maintain freshness. Place the container in the freezer at 0°F or below. Avoid repeated thawing and refreezing‚ as it can affect texture. Use wax paper or plastic wrap to prevent ice crystals from forming. Store promptly to preserve flavor and consistency. For optimal results‚ consume leftovers within a few days. Always label the container with the date and contents for easy tracking. Proper storage ensures your homemade ice cream stays delicious and creamy.

Cleaning and Maintenance
Regular cleaning is essential for maintaining your Cuisinart Ice Cream Maker. Wash removable parts with warm soapy water‚ dry thoroughly‚ and store properly. Follow instructions closely for best results and to ensure longevity.
How to Clean the Maker
Cleaning the Cuisinart Ice Cream Maker is essential for maintaining hygiene and performance. Always unplug the device before cleaning. Wipe the exterior with a damp cloth and mild soap. The bowl‚ lid‚ and paddle are dishwasher-safe‚ but handwashing with gentle detergent is recommended to avoid scratches. Avoid abrasive cleaners or scouring pads‚ as they may damage the finish. Rinse all parts thoroughly and dry them before storing. Regular cleaning ensures optimal functionality and prevents residual flavors from affecting future batches of ice cream.
Storing the Bowl and Accessories
After cleaning‚ store the bowl and accessories in a cool‚ dry place away from direct sunlight. Ensure the bowl is completely dry to prevent moisture buildup. Keep the bowl separate from the machine to avoid accidental freezing. Store smaller parts like the paddle and lid in a labeled container for easy access. Proper storage maintains the longevity of your Cuisinart Ice Cream Maker and ensures it remains in excellent condition for future use.
Regular Maintenance Tips
Regular maintenance ensures your Cuisinart Ice Cream Maker performs optimally. After each use‚ thoroughly wash and dry all parts to prevent bacterial growth. Inspect the bowl‚ lid‚ and paddle for wear and tear. Store components in a cool‚ dry place to maintain functionality. Avoid abrasive cleaners‚ as they may damage surfaces. For models with pre-freezing bowls‚ ensure they are completely frozen before use. Follow the manufacturer’s guidelines for prolonged storage during off-seasons. Proper care extends the lifespan and reliability of your ice cream maker.

Troubleshooting Common Issues
Troubleshooting common issues with your Cuisinart Ice Cream Maker can ensure optimal performance. Refer to the user manual or manufacturer guidelines for solutions to soft‚ hard‚ or uneven ice cream‚ and addressing mechanical issues promptly.
Ice Cream Too Soft or Too Hard
If your ice cream turns out too soft‚ it may be due to insufficient freezing time or using too much liquid in the base. For too hard ice cream‚ the mixture might have been over-churned or the ingredients were too cold. To fix soft ice cream‚ ensure the bowl is fully pre-frozen and ingredients are chilled. For hard ice cream‚ avoid over-churning and let it sit at room temperature for a few minutes before serving. Proper temperature control and timing are key to achieving the perfect consistency.
Machine Not Churning Properly
If the Cuisinart Ice Cream Maker isn’t churning‚ check if the freezer bowl is properly pre-frozen. Ensure the machine is assembled correctly‚ with the paddle and lid in place. Overfilling the bowl can prevent proper churning‚ so verify the mixture volume. If issues persist‚ consult the user manual or contact customer support for assistance. Proper preparation and assembly are key to smooth operation and achieving creamy results.
Other Common Problems and Solutions
Beyond soft or hard ice cream and churning issues‚ users may face other challenges. Noise during operation can indicate improper assembly or worn parts. Overloading the machine with too much mix can strain the motor; always follow capacity guidelines. If the bowl isn’t pre-frozen properly‚ it can affect churning efficiency. For optimal performance‚ ensure all parts are clean and dry before use. Regularly check and replace worn seals or blades to maintain functionality. Proper storage of the bowl and accessories is also essential for longevity.
With the Cuisinart Ice Cream Maker‚ crafting homemade ice cream is easy and rewarding. Enjoy experimenting with flavors and savoring the delicious results of your creations.
Final Tips for Perfect Ice Cream
For the best results‚ ensure your ingredients are cold before churning. Use high-quality cream and flavorings to enhance taste and texture. Avoid over-churning‚ as it can make the ice cream dense. Add mix-ins like nuts or fruit toward the end of churning for even distribution. Freeze the mixture for at least 2 hours after churning to harden. Experiment with unique recipes to find your perfect flavor combination. Always follow the manufacturer’s guidelines for optimal performance and delicious homemade ice cream.
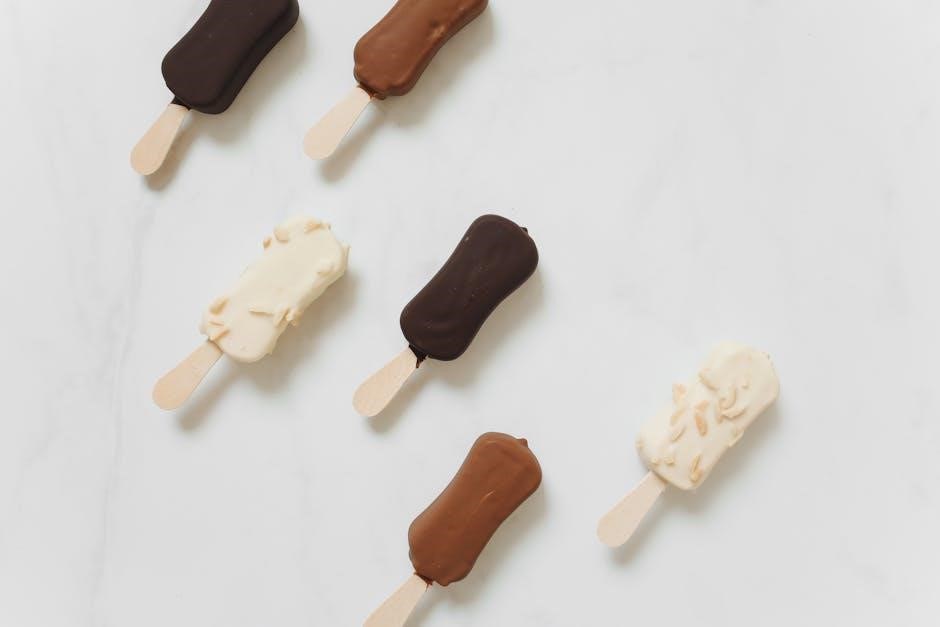
Experimenting with New Recipes
Experimenting with new recipes is one of the most exciting aspects of using a Cuisinart Ice Cream Maker. Try unique flavor combinations like matcha-green tea‚ strawberry-balsamic‚ or peanut butter-cup. Incorporate mix-ins such as fresh fruits‚ nuts‚ or candy pieces for added texture. Don’t forget to balance flavors by adjusting sweetness and saltiness. For adventurous creations‚ infuse alcohol like rum or Kahlúa for adult-only treats. Always follow the manufacturer’s instructions for ingredient ratios to ensure smooth churning. This versatility allows you to craft one-of-a-kind ice cream flavors tailored to your taste preferences. Enjoy the creative process!
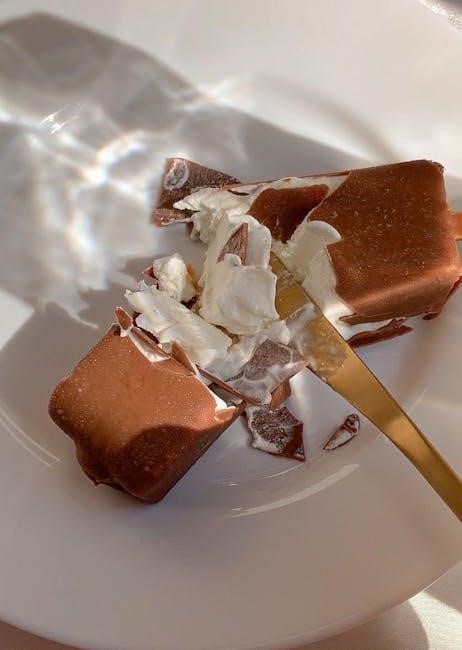
Enjoying Your Homemade Creations
Homemade ice cream offers the joy of customization and the satisfaction of creating something delicious from scratch. Share your unique flavors with family and friends‚ or savor the treat yourself. The process fosters creativity‚ allowing you to experiment with new recipes and ingredients. Seeing others enjoy your creations adds to the fulfillment of homemade ice cream making. It’s a delightful way to bring happiness to your kitchen and those around you‚ making every batch a special experience.